How to fix 0x80072ee7 error
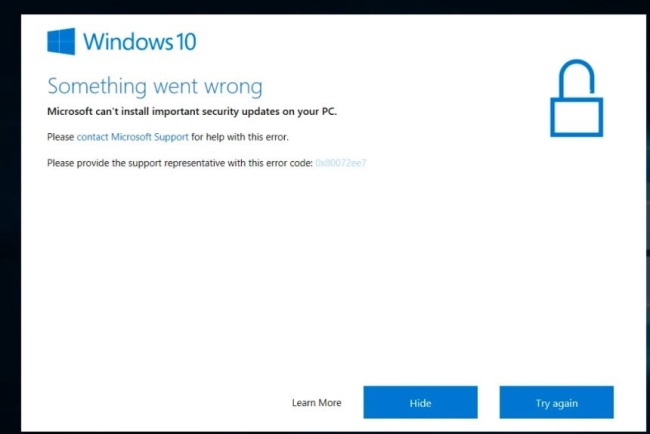
0x80072ee7 error is a common issue that often appears while installing Windows 10 Updates. There are many reasons for the appearance of this error. It may be caused due to the system problems, the presence of viruses and other malware, out of date drivers or damaged hard drives of your PC and so on. As a result, the user can’t install important updates without facing 0x80072ee7 error. Below in this guide, you will find several methods to fix 0x80072ee7 error.
Ways to fix 0x80072ee7 error :
Below we present instructions that may solve the problem. Depending on your system, the solutions may slightly differ, so perform the steps suitable for your system.
Automatic solution
Repairing system errors may be not an easy task, so we should warn you that performing some of the steps may require above-average skills, so if you don’t feel experienced enough, you may apply to automatic tool.
CLeanMyPC The Advanced System Repair is an all-in-one tool for users who want to forget about numerous system issues like error 0x80072ee7. Aside from fixing error 0x80072ee7, CLeanMyPC will also automatically resolve other issues boosting your computer speed and stabilizing its performance.
Or you may use manual methods:
Steps of manual resolving
Solution 1. Remove problem causing registry entries
- Press Windows+R
- Input ‘regedit’ and hit the Enter key
- Go to the following location HKEY_LOCAL_MACHINE\COMPONENTS\
- Remove the below listed entries
- AdvancedInstallersNeedResolving
- PendingXMLIdentifier
- NextQueueEntryIndex
- Reboot the PC
Solution 2. Re-register the required components
- Initiate the search for ‘command prompt’ as administrator
- Type the following commands and hit Enter after each
SC config wuauserv start= auto

SC config bits start= auto

SC config cryptsvc start= auto

SC config trustedinstaller start= auto - Exit
- Reboot the PC

If you are not sure what type of system you are using, then simply right-click the My Computer or This PC icon and choose Properties – in the appeared window you will see the information on your system version.
Solution 3. Permit VSS Copy
- Go to the Control Panel
- Change the view type to Icons
- Choose Administrative tools and within it go to the Services tab
- There at the bottom of the window find the Volume Shadow Copy service and double-click it
- Click on the Startup type menu and select Automatic
- Confirm your choice by clicking OK
Solution 4. Delete Conflicting File
Use this method if the error message emerges when you’re performing an installation of software through InstallShield.
- Navigate to C:\Program Files\Common Files\InstallSheild\Professional\Runtime\ISProbe.tlb
- And remove ISProbe.tlb file
It is likely that you will need to view hidden files & folders to detect the file. For this open the Control Panel and click Folder Options. In the emerged window go to the tab View and mark the option ‘Show hidden files, folders, and drivers’
Solution 5. Update drivers
This problem is also often solved by a simple driver update. Old drivers may cause system errors so we advise keeping all your drivers up-to-date. To simplify this task, you may engage the services of some third-party programs such as DriverMax.